How to Choose Insulated Casement Window Profiles?
Choosing Insulated Casement Window Profiles is not simply a matter of comparing frame prices. The profile affects thermal performance, air tightness, drainage, glazing compatibility, security, and long-term comfort. A narrow frame may provide more glass, but it can also reduce reinforcement space. A thicker thermal break may improve insulation, yet it can increase cost and complicate fabrication.
Passive House designer Bronwyn Barry has said, “Passive House is not a style, but a performance standard.” That principle is useful here. The best Insulated Casement Window Profiles should be judged against measurable needs, not attractive brochures. Look for credible U-value data, tested air and water resistance, suitable thermal-break materials, and documented compatibility with double or triple glazing. Check whether the stated performance applies to the complete window, rather than the frame alone.
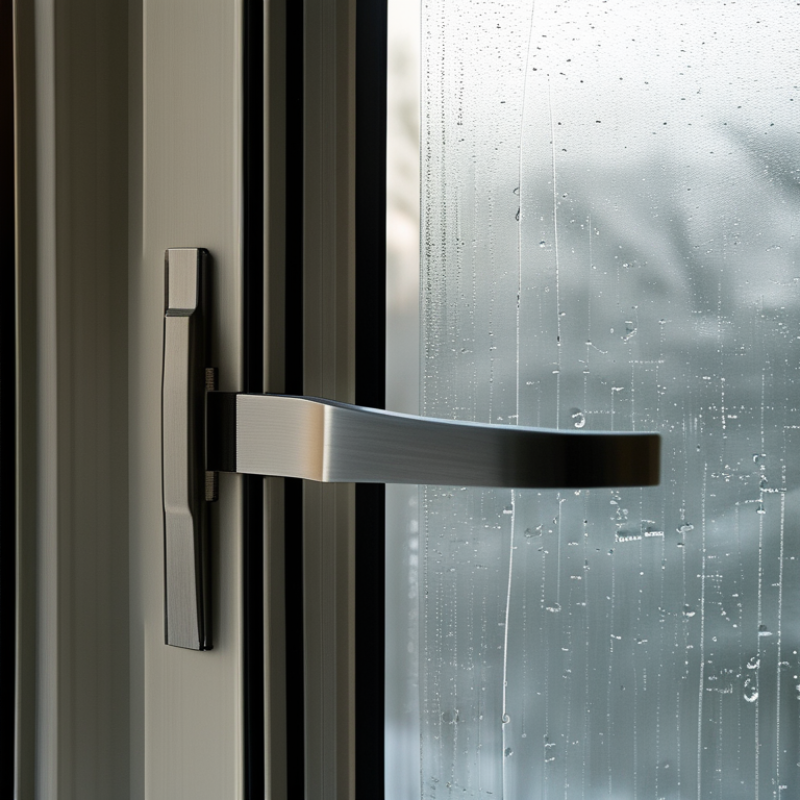
Small details matter. Imagine a bedroom window facing a cold winter street. A weak gasket can create a faint draft near the handle. Poor drainage may leave water inside the outer chamber. An undersized reinforcement may allow the sash to sag after repeated opening. These failures are not always visible on installation day.
There is no perfect profile.
Local climate, window size, exposure, hardware, and installation quality all change the result. I would also question any specification that promises exceptional insulation without test conditions. A reliable choice combines verified data, experienced fabrication, and careful site installation. This guide explains how to compare those factors clearly, while acknowledging that even a well-designed profile can underperform when the surrounding wall assembly is neglected.
Define Insulated Casement Window Profiles and Their Core Components
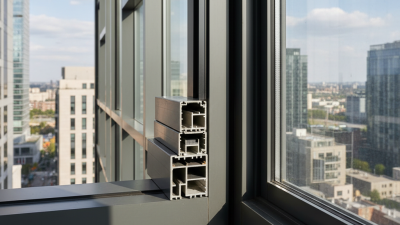
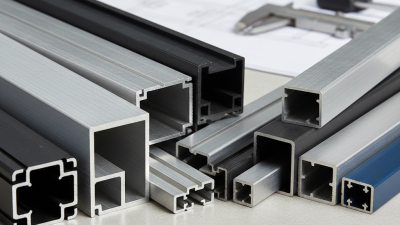
Insulated casement window profiles are frame and sash sections designed to reduce heat transfer around an opening. They support the glass, seals, hinges, and locking hardware. Unlike basic metal frames, insulated profiles usually contain separate internal chambers. A thermal break divides the exterior and interior surfaces. This limits conductive heat flow through the frame.
The core components work as one system. The outer frame anchors the window to the wall. The sash carries the opening glass panel and moves outward on hinges. Inside, reinforcement may improve strength, especially for wide or heavy sashes.
Double or triple glazing sits within a sealed insulating glass unit. Spacers keep the panes apart. Low-conductivity spacers can reduce edge condensation. Gaskets press against the glass and frame, blocking air and rain.
Look closely
at the profile depth, chamber layout, and drainage paths. A deeper section may accept thicker glazing, but it can also increase weight. Compression seals should feel continuous at corners. Poorly joined corners can create cold spots. I have seen attractive profiles perform poorly because installation gaps were ignored. That detail is easy to underestimate.
Check thermal performance data, air leakage results, and water resistance test values. Also confirm the profile suits local weather and wall construction. A technically advanced section cannot correct careless fitting. This is where specifications meet real buildings.
Assess Thermal Performance, Materials, and Frame Insulation Levels
How to Choose Insulated Casement Window Profiles?
Assess Thermal Performance, Materials, and Frame Insulation Levels
A casement window profile should be judged by its complete thermal design. Check the whole-window U-value, not only the center-glass figure. Lower values usually indicate better insulation, but local standards may measure them differently. Ask for certified test data from an independent laboratory. Marketing claims alone are not enough.
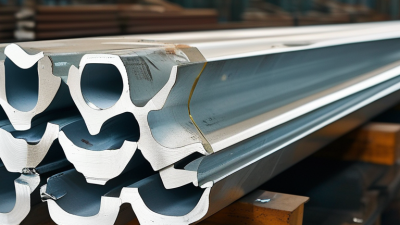
Material selection affects heat flow, strength, and maintenance. Aluminum profiles need a continuous thermal break between the inner and outer sections. Polyvinyl chloride profiles often use several hollow chambers to slow heat transfer. Reinforced frames can improve stability, especially beside large glass panels. However, more chambers do not automatically guarantee better performance. Inspect the frame thickness, gasket quality, and corner construction. Small gaps matter.
Frame insulation levels should match the building’s climate and ventilation design. In cold regions, warm-edge spacers and insulated sashes can reduce condensation near the glass edge. In hot climates, solar control glass may matter more than adding frame chambers. Check the joints. Installation quality can weaken an excellent profile. I once saw a high-performance frame lose its advantage because foam coverage was uneven. That mistake changed my view: profile specifications deserve attention, but site inspection deserves equal respect. Do not guess. Ask how the profile performs after repeated opening, closing, moisture exposure, and seasonal movement.
Match Window Profiles to Building Requirements and Local Climate
Choosing insulated casement window profiles starts with the building, not the product catalogue.
The U.S. Department of Energy reports that windows can cause 25–30% of residential heating and cooling energy use. That figure is sobering. In cold regions, prioritize low U-factor frames, continuous thermal breaks, and tight compression seals. In hot climates, lower solar heat gain may matter more than maximum insulation. A highly insulated profile can still create overheating beside large south-facing glass.
Match the profile to local exposure. Coastal buildings need durable finishes and careful drainage around the frame. Humid areas require strong condensation resistance, especially near bedrooms and kitchens. The frame should also suit the wall depth, insulation layer, and installation method. Poor alignment can leave a thin air path around the sash. It happens more often than specifications suggest. On site, installers should check shims, corner joints, and seal continuity before closing the reveal.
The IEA’s Energy Efficiency 2023 report identifies buildings as responsible for roughly 30% of global final energy consumption. This makes profile selection a design decision, not a cosmetic choice. Review U-factor, solar heat gain coefficient, air leakage, and condensation-resistance results from recognized testing programs. Do not compare numbers from different methods casually. Local code is only the starting point. Window orientation, shading, occupancy, and ventilation can change the best choice. Sometimes, a slightly less ambitious profile performs better because installers can fit it accurately.
Verify Standards, Installation Needs, Durability, and Long-Term Value
How to Choose Insulated Casement Window Profiles?
Start with verified performance, not a glossy cross-section. The U.S. Department of Energy reports that windows can drive 25–30% of residential heating and cooling energy use (DOE Energy Saver). That figure makes the frame important. Check the NFRC label for U-factor, solar heat gain coefficient, visible transmittance, and air leakage. Then compare each rating with your climate zone and room orientation. NFRC data is useful, but one impressive number cannot fit every building. Test the sample.
Installation can defeat an excellent profile. On site, inspect square openings, continuous shims, drainage paths, and sealed fastener penetrations. ASTM E283 evaluates air leakage, while ASTM E547 addresses water penetration under pressure. Request documented testing under the project’s actual exposure conditions. Casement sashes need accurate alignment because their compression seals close against the frame. Small gaps matter. In practice, condensation is sometimes blamed on glass when a poorly insulated jamb is the real weakness.
Durability needs more than a thick wall. Review thermal-break continuity, corner construction, gasket recovery, hardware cycle testing, and structural-load resistance. ASTM E330 is commonly used for structural performance testing. Ask for test reports, production dates, and maintenance instructions. Long-term value includes repainting, replacement hardware, indoor comfort, and energy use. DOE guidance supports efficiency, but savings depend on shading, ventilation, and workmanship. A cheaper profile may lose after repeated service calls. That is not always true. Price alone is a weak forecast.